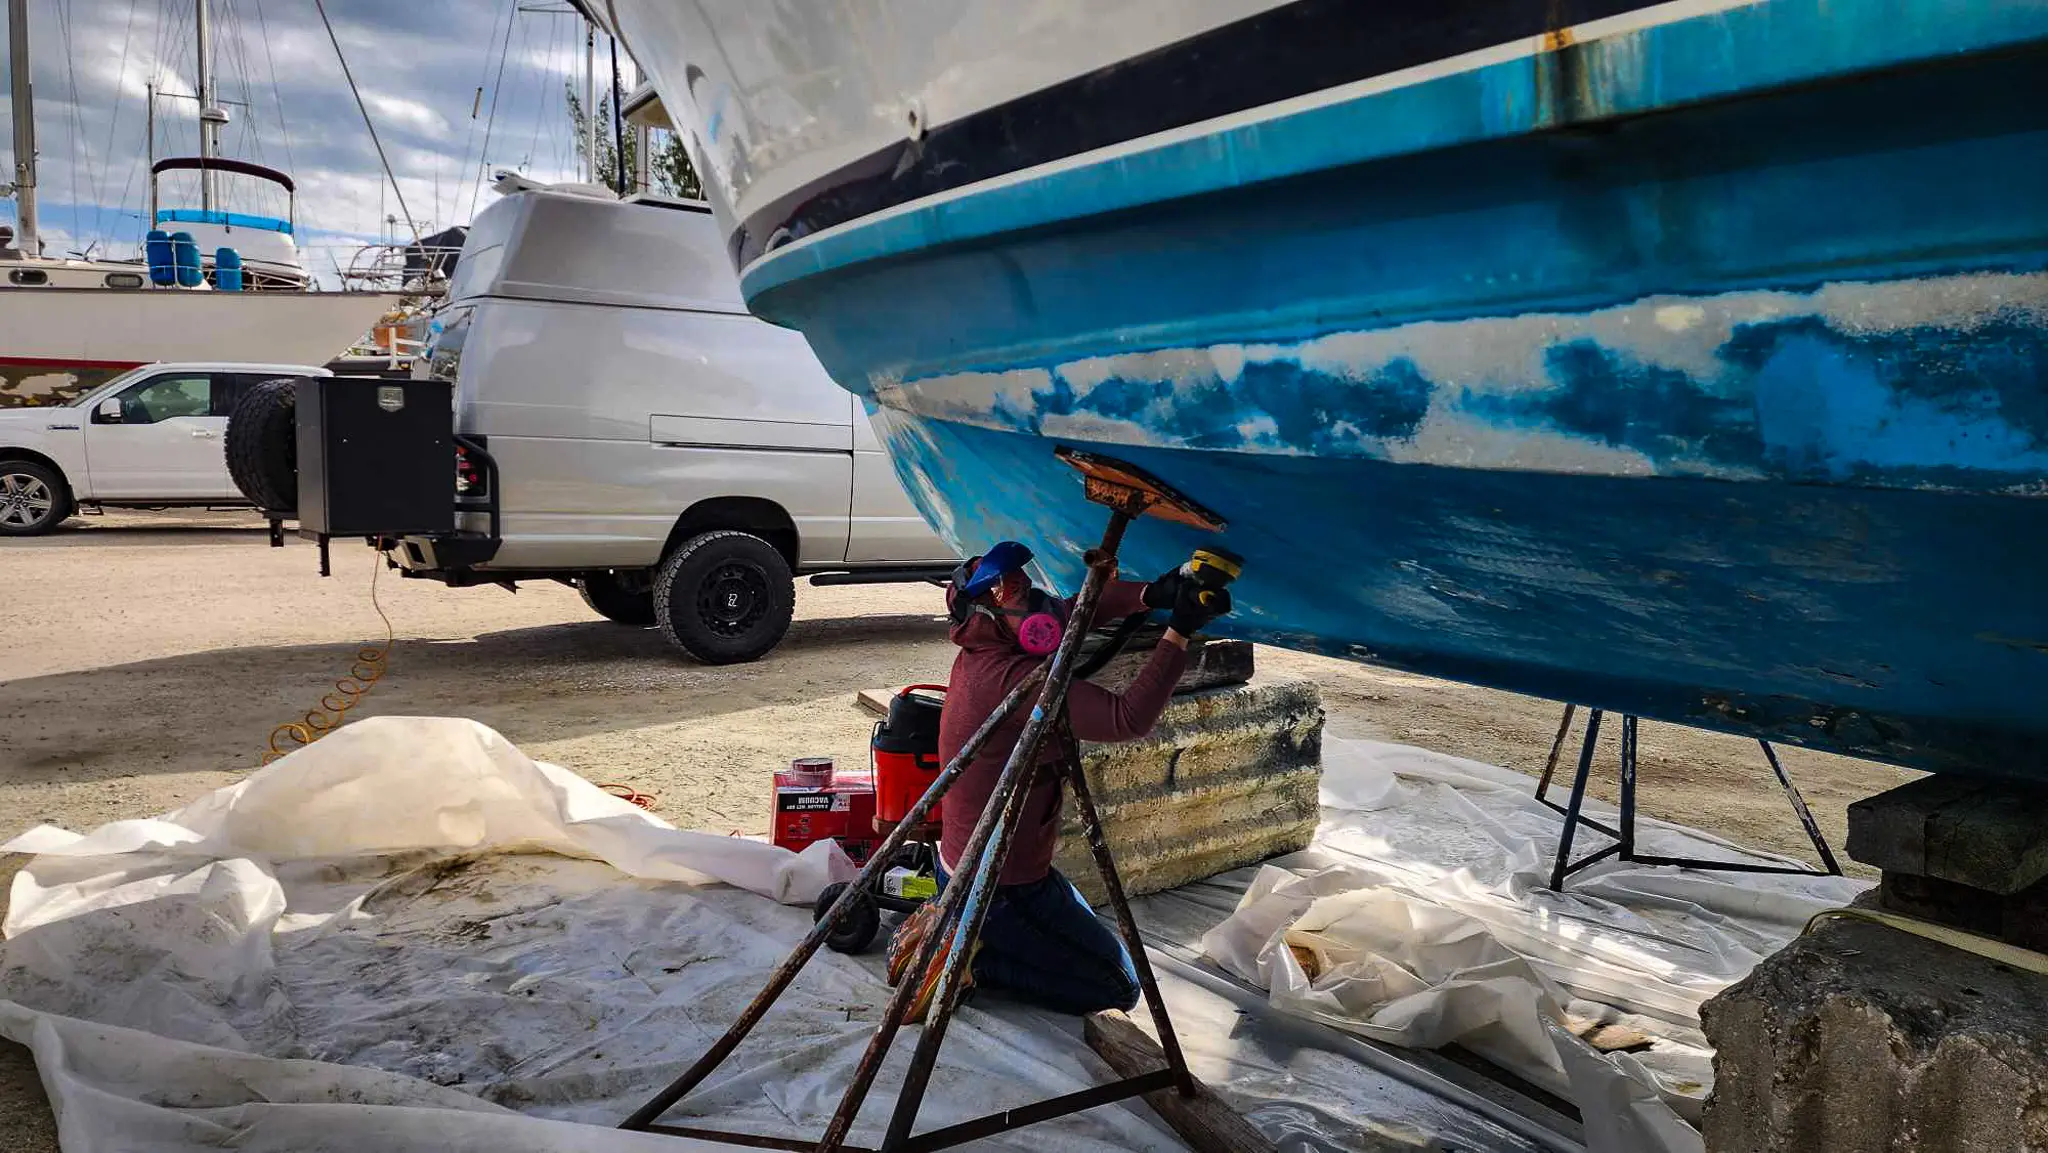
The number one reason we had our boat hauled out was to apply a fresh coat of bottom paint. Boats that are stored in the water typically have a special bottom paint, also referred to as antifouling paint or ablative paint. The bottom paint is applied to the part of the boat’s hull that sits below the waterline. The purpose is to deter algae, barnacles and other growth from attaching to the boat with the use of biocides found in this special (and expensive) paint.
Depending on the type of paint used, the paint needs to be reapplied yearly, or every few years. Before applying the fresh paint, the hull needs to be prepped properly and that’s what we’re up to now!
Step 1 | Remove Loose Paint
I went around the boat’s hull with a small putty knife, scraping off any loose paint I could find.
There were a number of areas where the paint had chipped, but I think the majority of the loose paint had been removed by the power wash on haul-out day.
Step 2 | Sand Hull
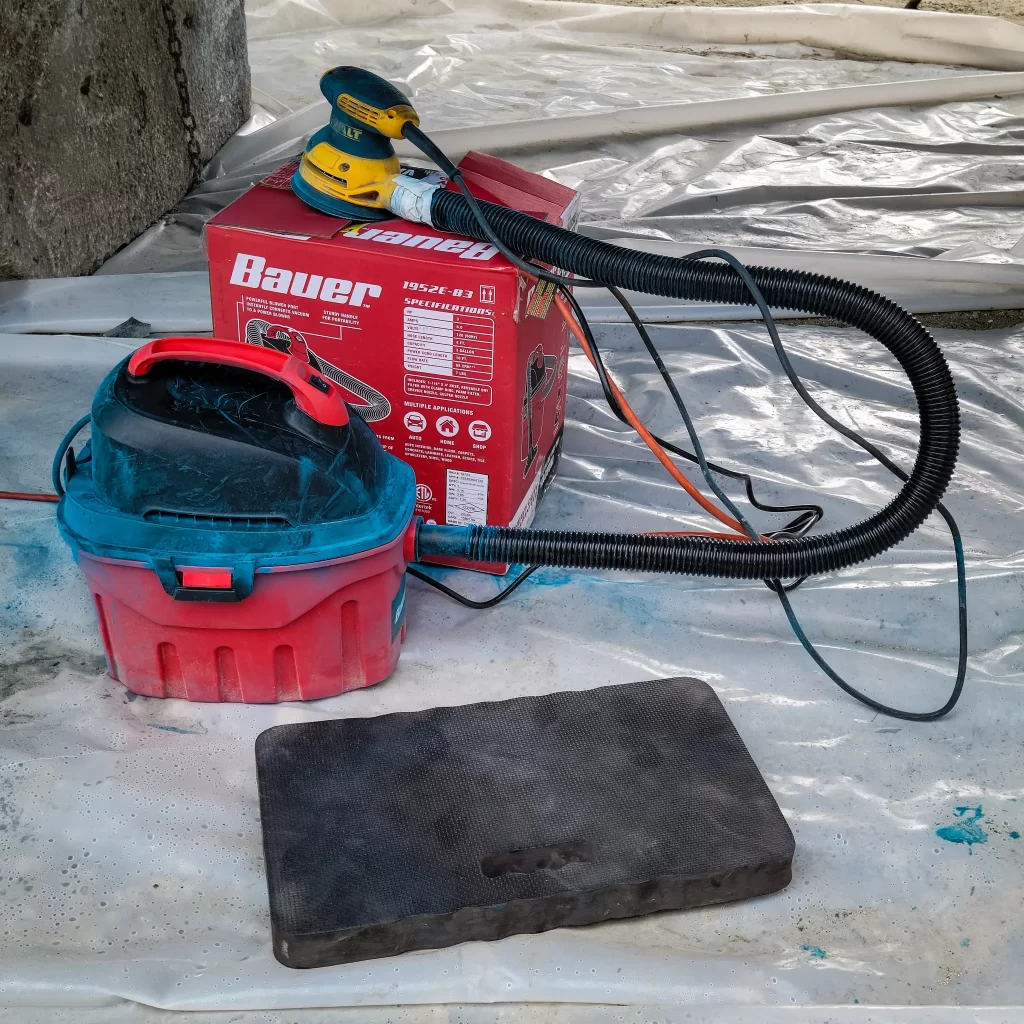
I used a DEWALT Random Orbit Sander with 5″ 80 grit sanding discs. Per the boat yard’s regulations, I attached the sander to a vacuum to reduce the environmental impact.
Anticipating the condition of the shop vac after its job was done, we grabbed a Bauer 3 gallon shop vac from Harbor Freight.
Underneath the plastic sheeting is some pretty sizable gravel, so I also used a kneeling pad in some areas.
Step 3 | Clean Underwater Gear
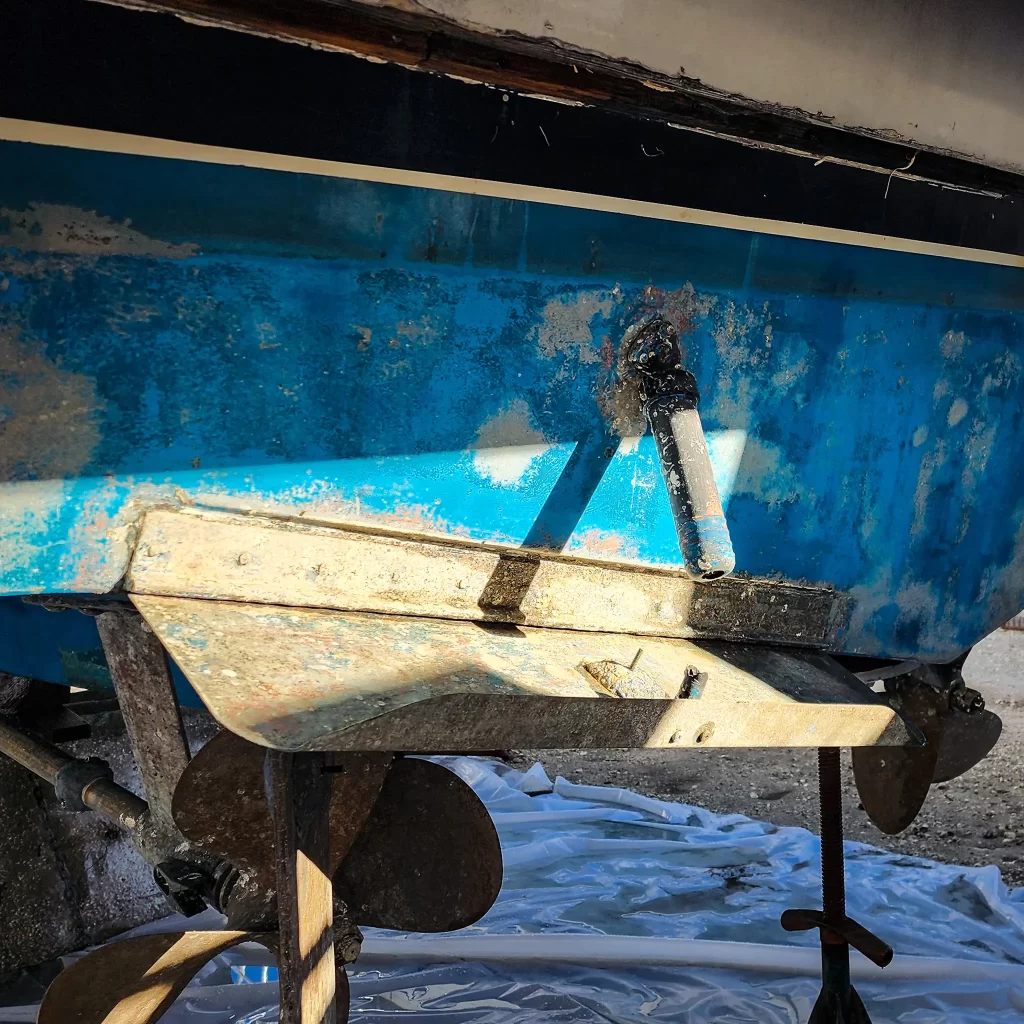
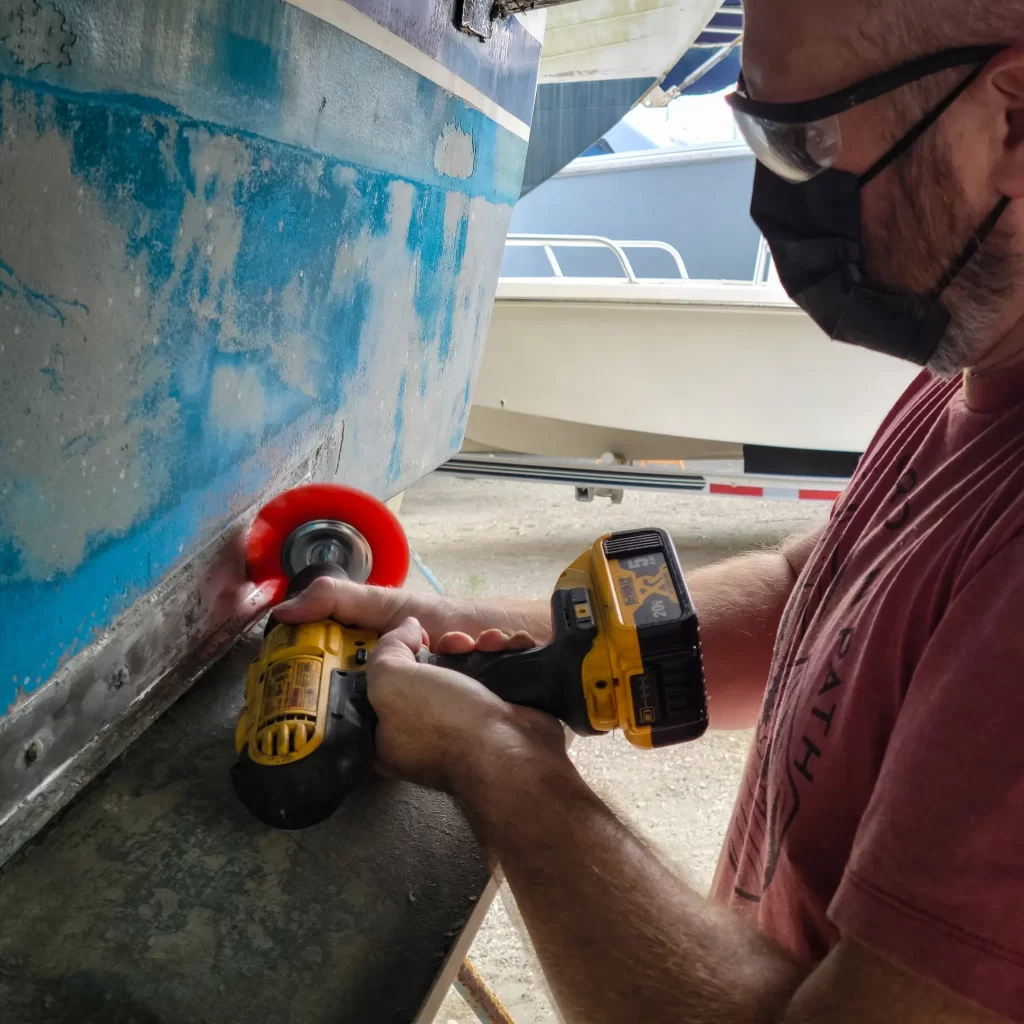
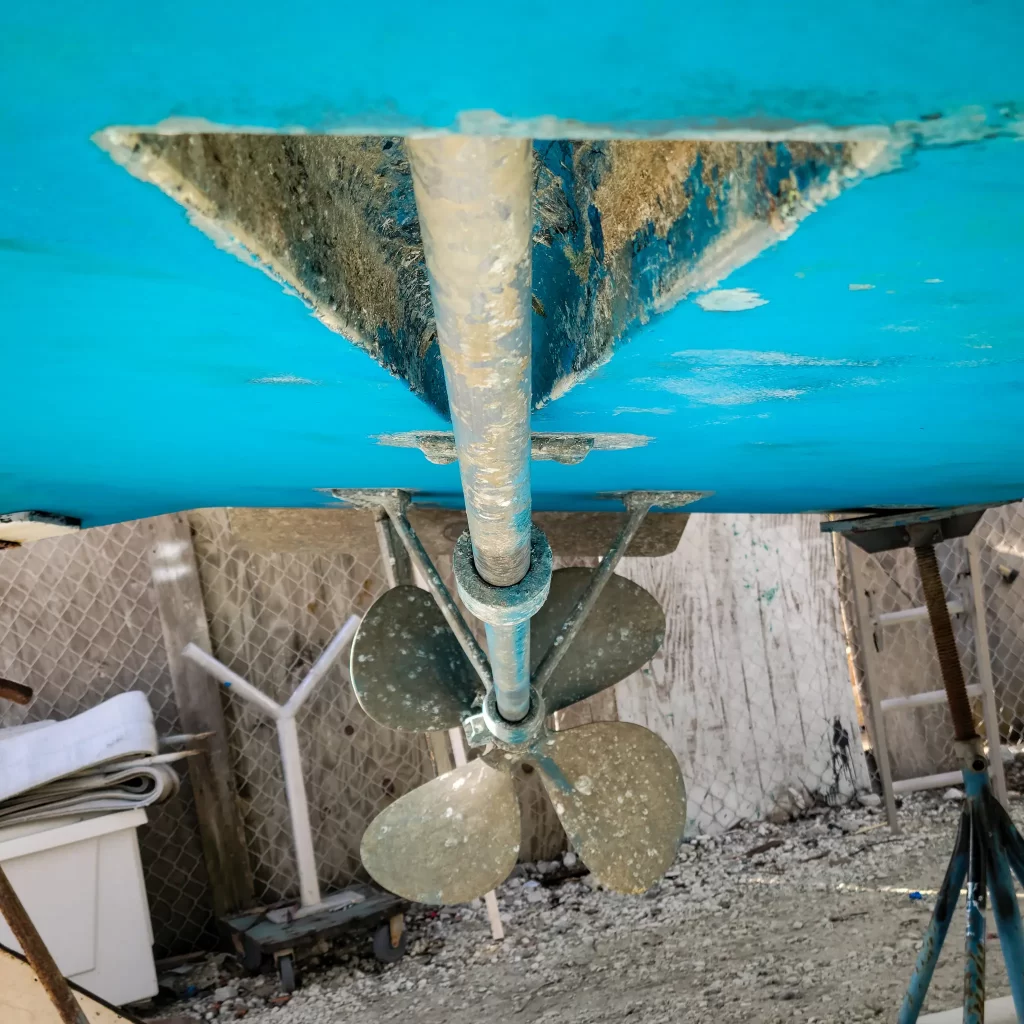
While I was sanding the hull, Tom worked on cleaning the underwater gear. He used putty knives to scrape off as much old growth as possible, then moved on to a 80 grit nylon radial brush, attached to his electric drill. We plan to come back to this step, and try a vinegar solution to soften some of the build-up.
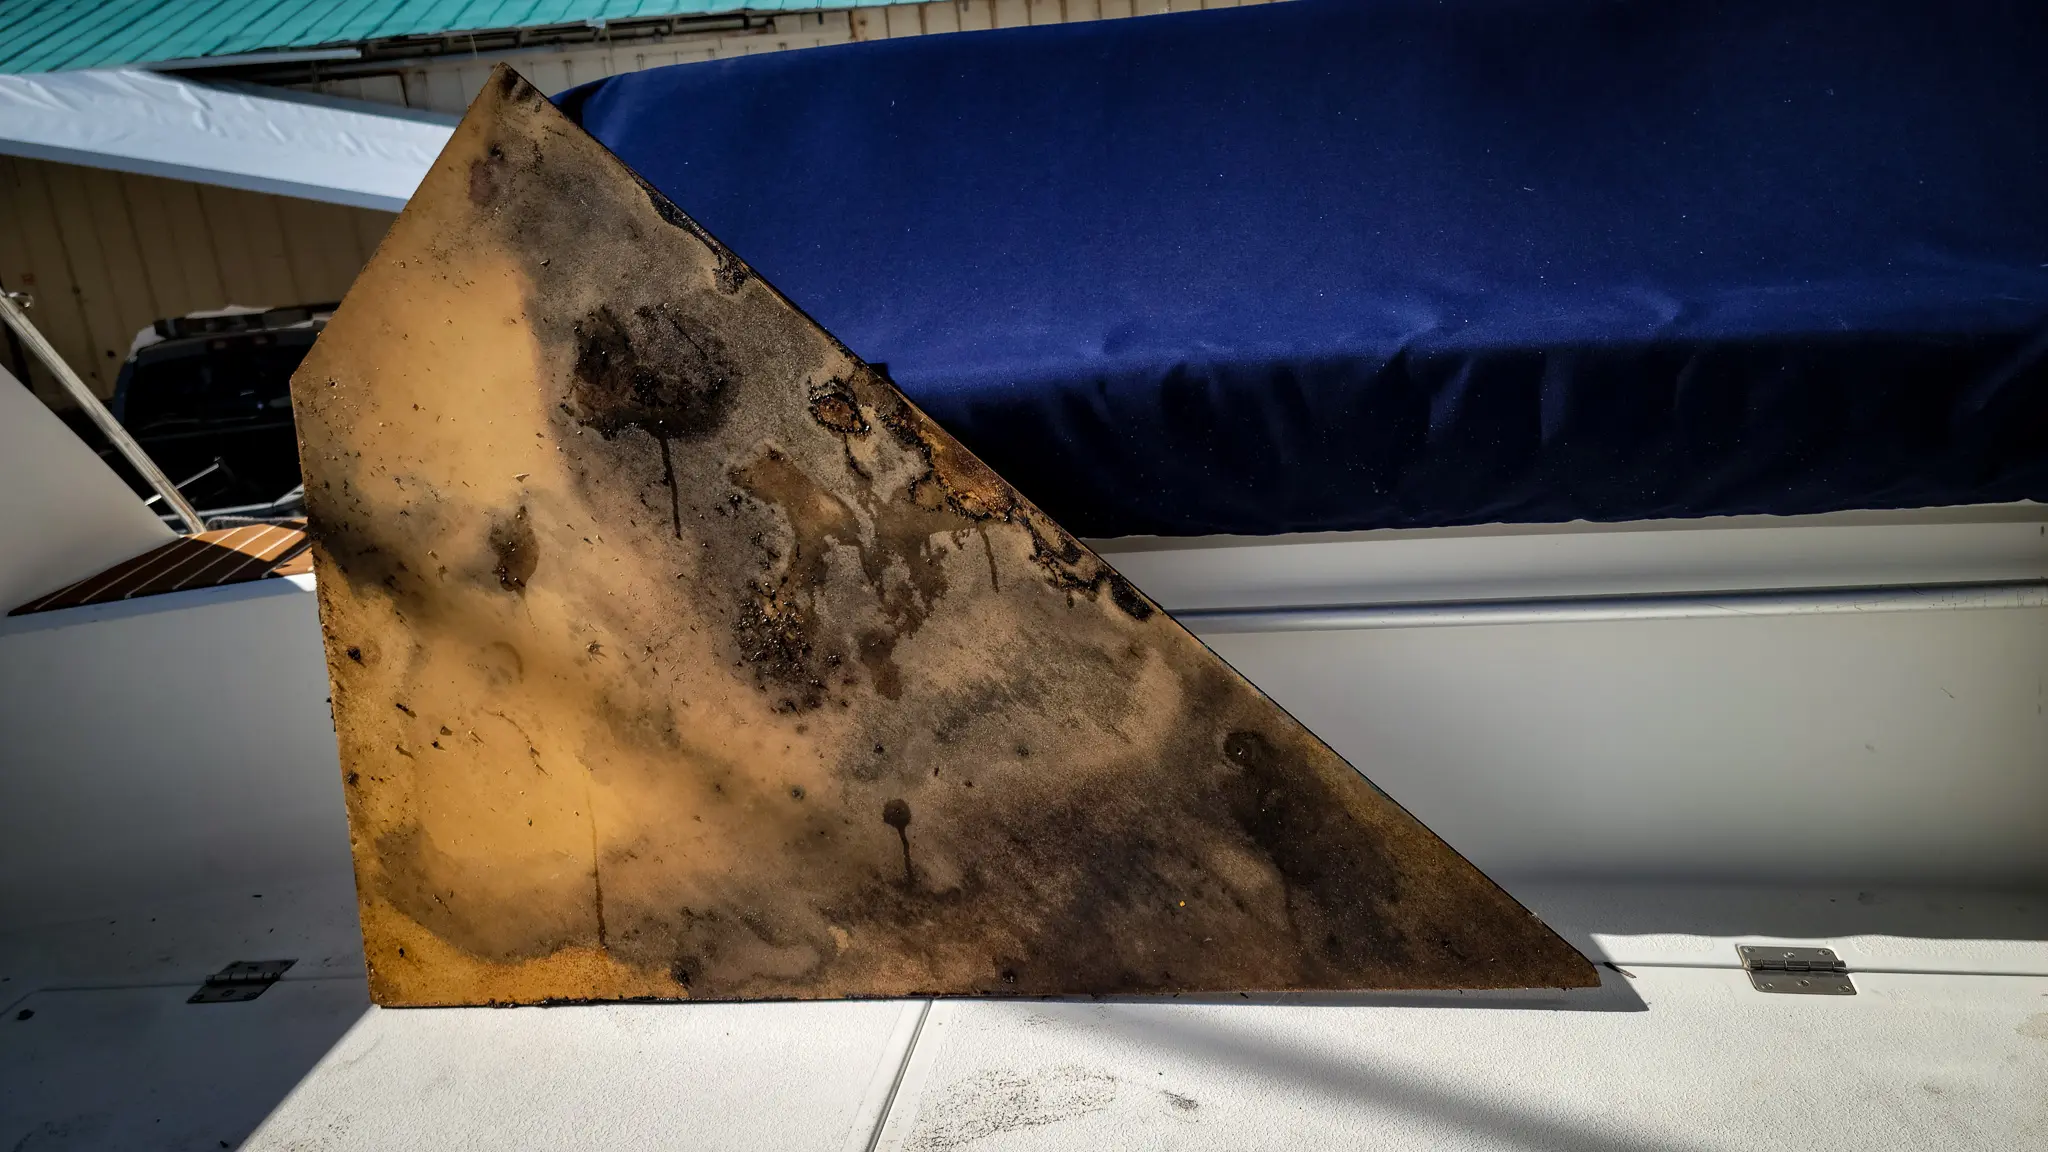
We knew at the time we purchased the boat that one of the hydraulic trim tab actuators was broken, so Tom removed both of them and cleaned up the area around where the new actuators would be installed.
Step 4 | Attack All Suspicious Spots
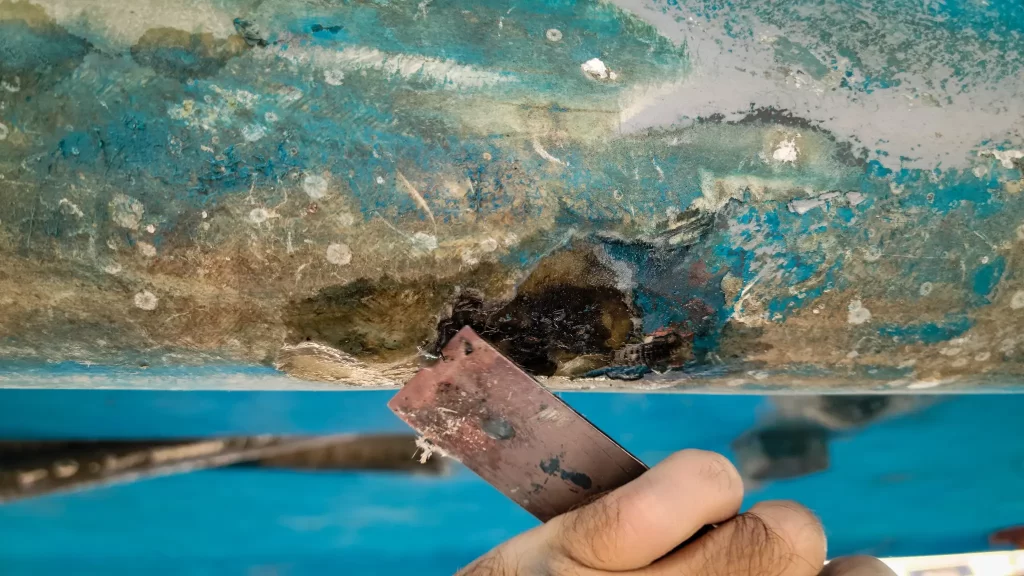
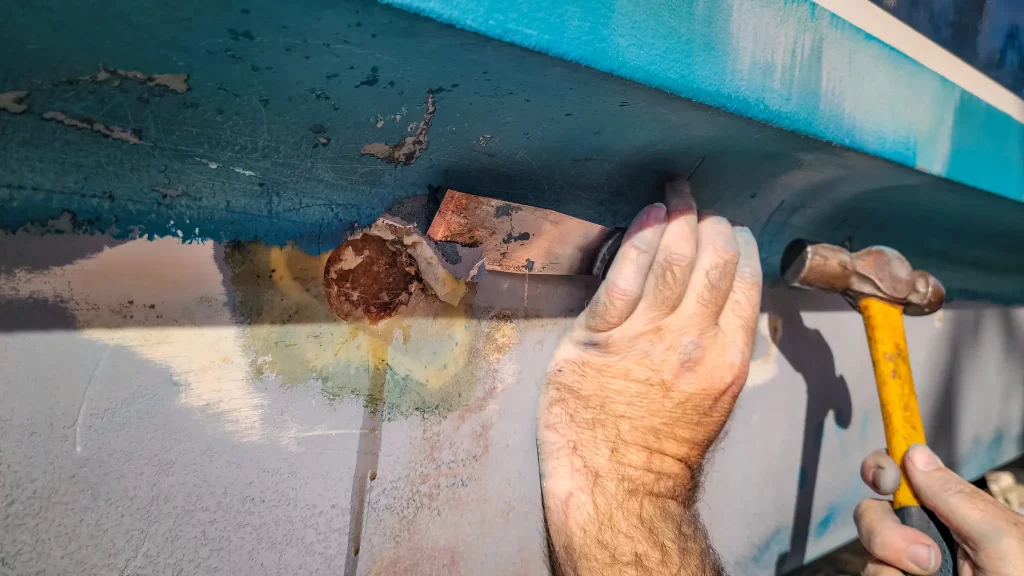
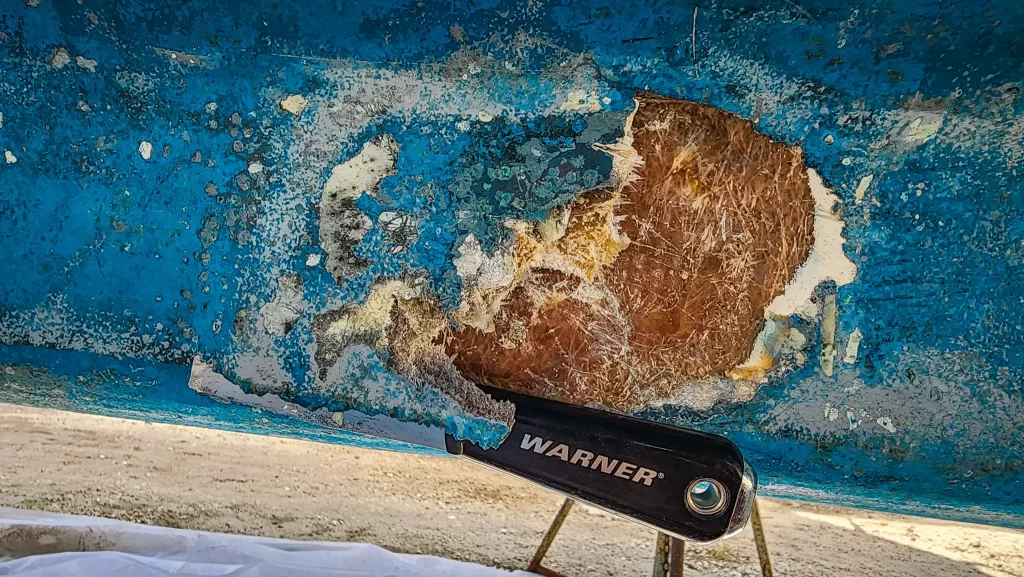
The sanding of the hull revealed some previous patch jobs, which unfortunately had not held. Water had gotten in several of these patched locations, creating “blisters” which Tom popped with a small drill bit. He then used a small putty knife and chisel to remove the remaining waterlogged material.
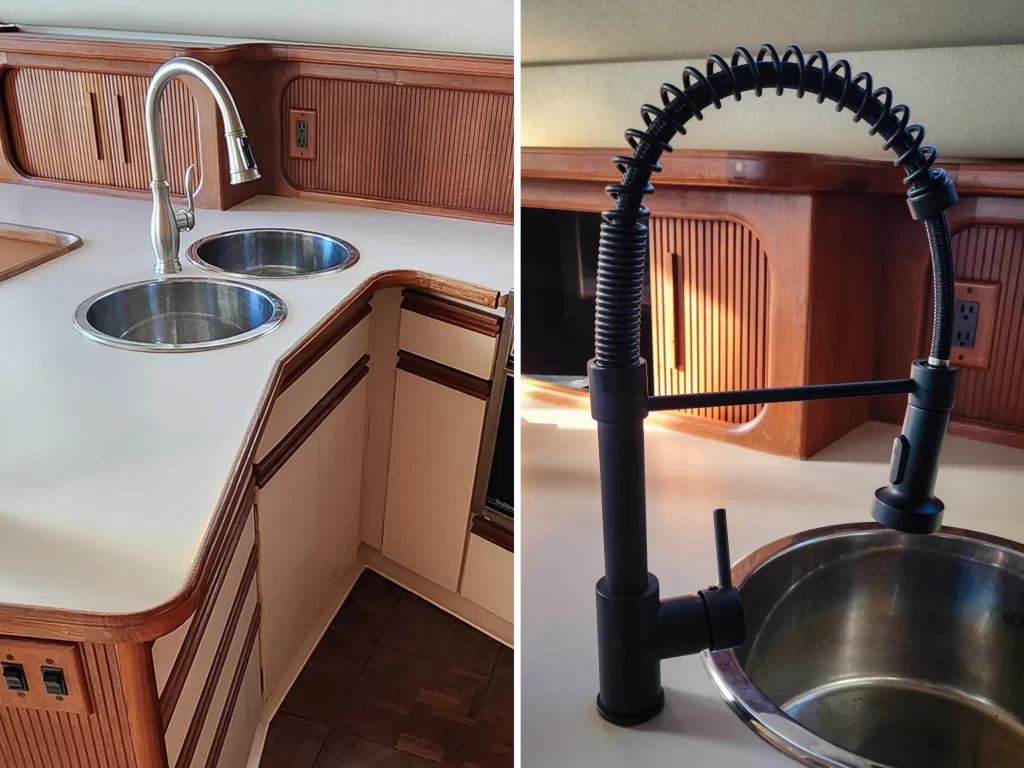
Updated Galley Faucet
Looking for an easy win, I swapped out the existing galley faucet!
The sprayer on the original faucet was broken, and the brushed nickel finish did not match the high-shine stainless steel finishes found throughout the rest of the boat.
I replaced it with a matte black faucet that we had actually purchased previously for another project. It’s a great fit!
