How to find an inexpensive high top
How to install a van high topper
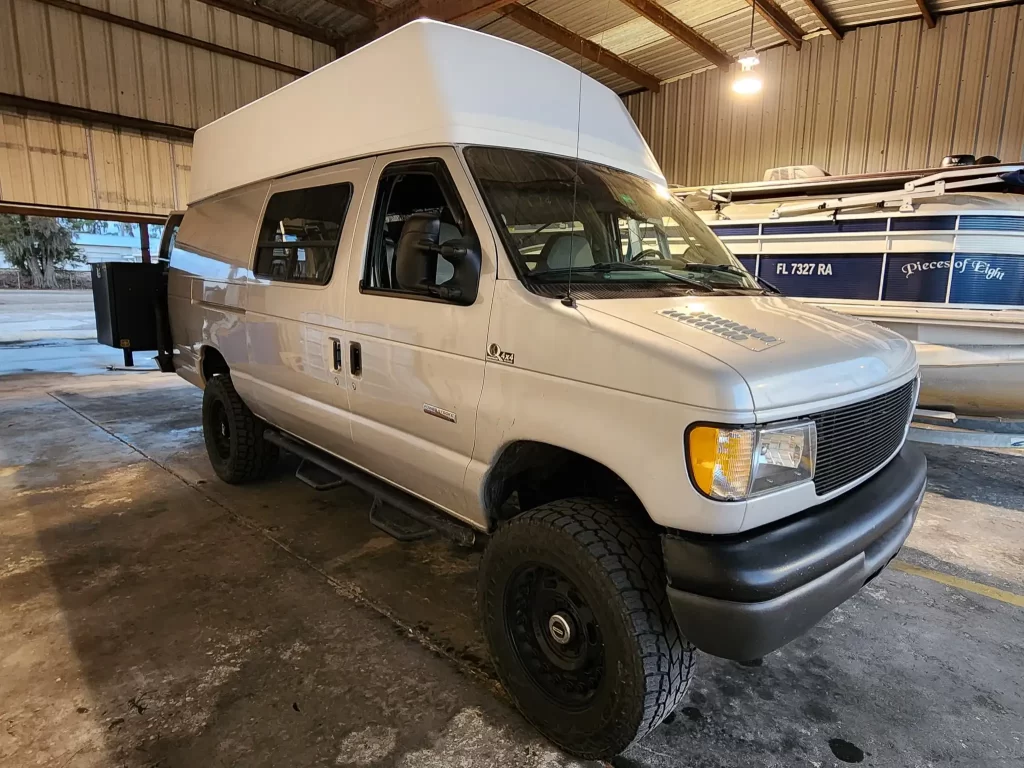
When Tom laid eyes on Ogre—our silver Ford E-350 with a Quigley 4×4 conversion—he knew he’d found our perfect van life rig. There was just one problem: it didn’t have a high top. In this post, we’ll show you how we found and installed a used fiberglass high top for just $250, turning our low-roof van into a full standing-height camper—without spending thousands.
Step 1: Finding the Correct Van High Top
There are only a few companies who manufacture aftermarket van high tops for the Ford E-350 van. These brand new van toppers run about $5,500 plus $2,000 for shipping, and not including installation. They also only deliver to auto body shops! So we knew we’d be scouring junk yards to find our high topper.
Actually finding the correct shape and height van high top was incredibly difficult! We were looking for a top that’s about 24″ tall, which would make our interior height, including insulation, around 6′ 2″. We found many that were 18″, and oftentimes the taller ones were only tall enough in the middle, but significantly lower in the front and back. After weeks of searching on Car-Part.com (a useful but not very user-friendly website) Tom found a $250 high topper that would be good fit, albeit not ideal fit, for our Ogre.
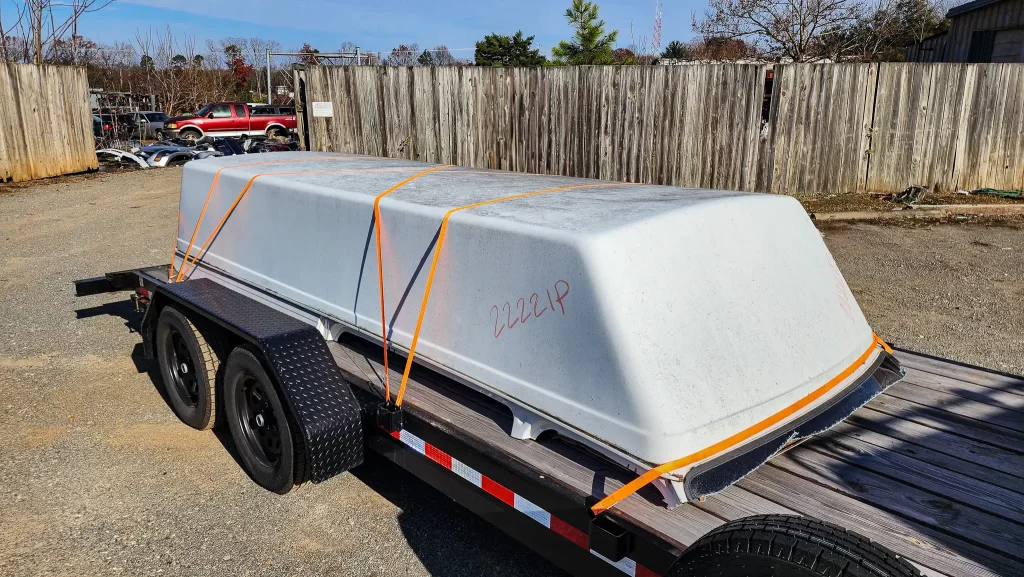
He called the junkyard to ensure three things; that the topper was still available, that it was undamaged and in good condition, and that it was installed on a compatible van as described in the online listing. Check, check, and check, we were good to go!
Tom drove about 12 hours, 4 states away to retrieve the van high top.
Unfortunately, as the junkyard was moving the hightop with the forklift, they damaged the front corner of the fiberglass. Nevertheless, Tom purchased it and brought it home. We later had that area repaired, at additional cost.
Step 2: Prepping a Used Fiberglass Van High Top
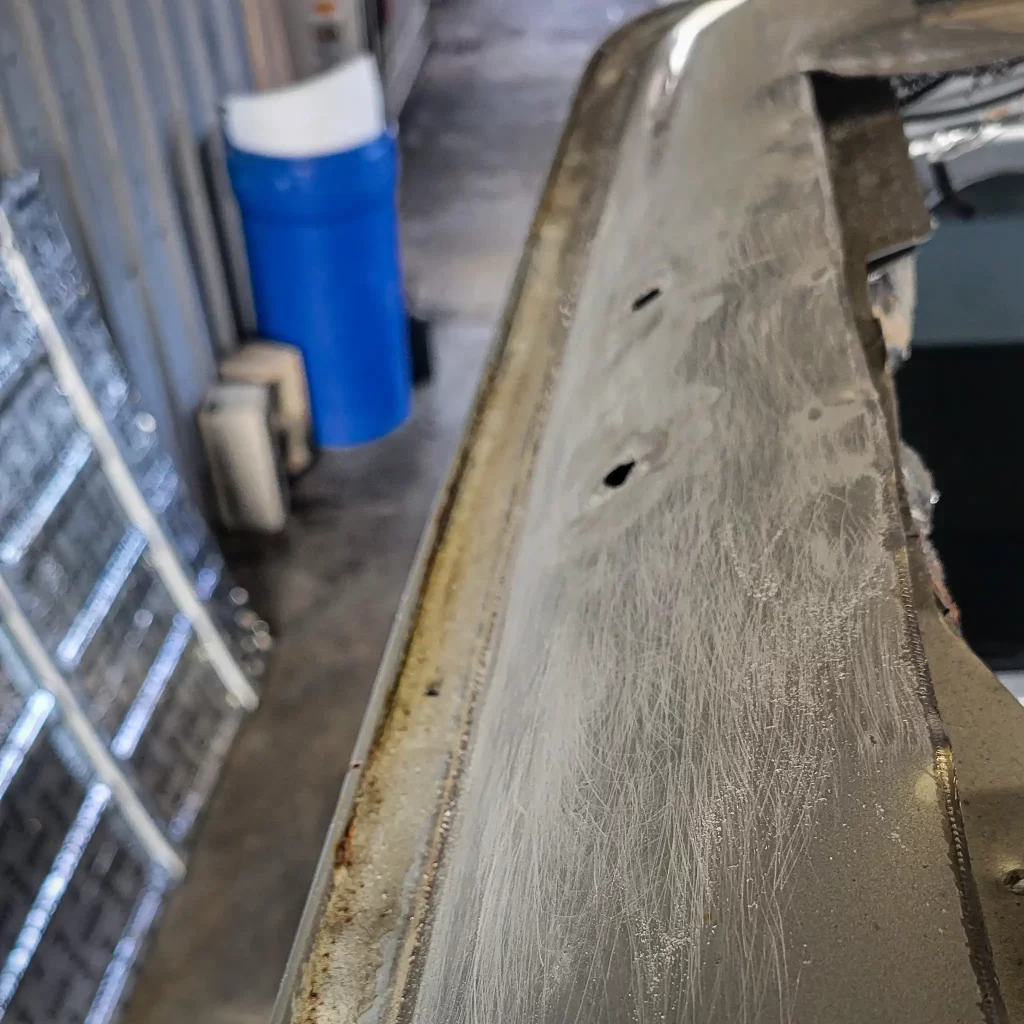
The junk yard that we purchased the topper from wanted to remove it efficiently, so they just cut around the entire van about 5″ below the drip rail – including right across the windshield! This meant our first step was to remove the portion that we actually wanted from the remnants. It took us about 6 hours total, 2 hours to remove the entire high top from the drip rail and roof, and the remaining 4 hours to remove the exterior portion of the high top from the interior portion to which it was sandwhiched.

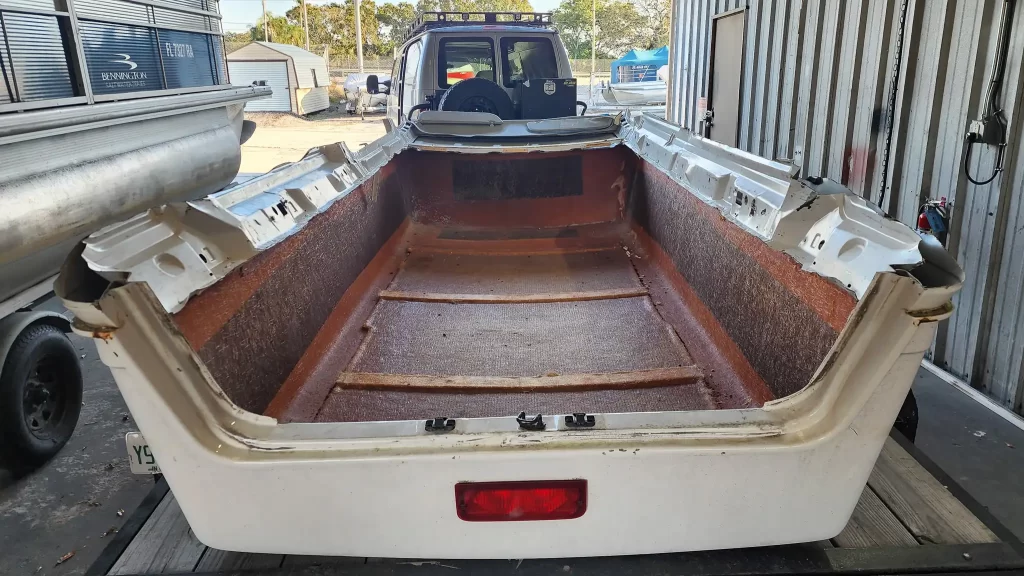
The entire shell was held on with copious amounts of sealant and about a dozen screws. Having to detach the topper turned out to be beneficial – now we knew how to install it onto our van!
Step 3: Removing the Roof of Our Van
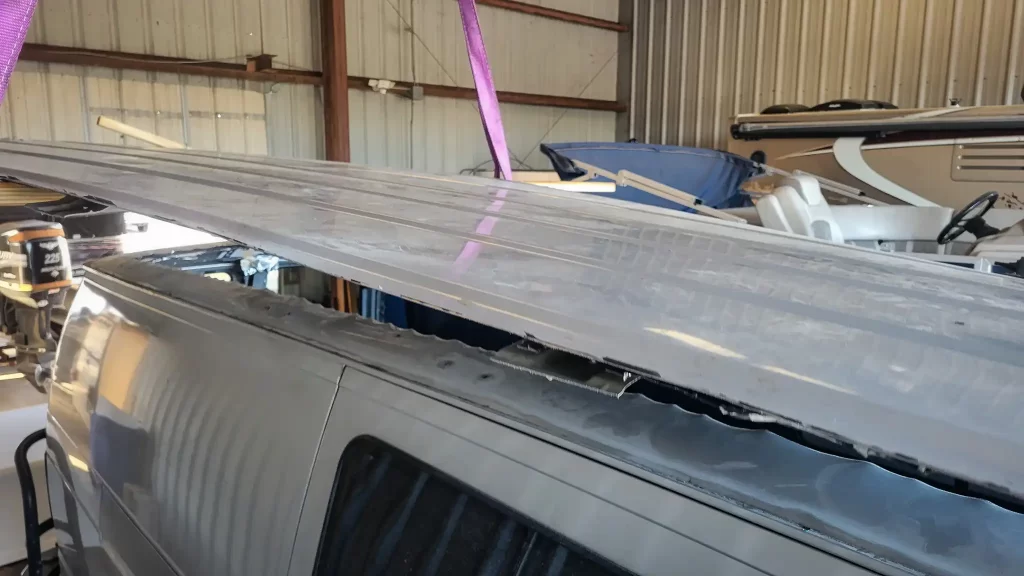
Before making the first hole in our roof, we decided to test fit the topper, even though it had come off an identical van. The test fit went smoothly, and we got our first glimpse of what the final product would look like!
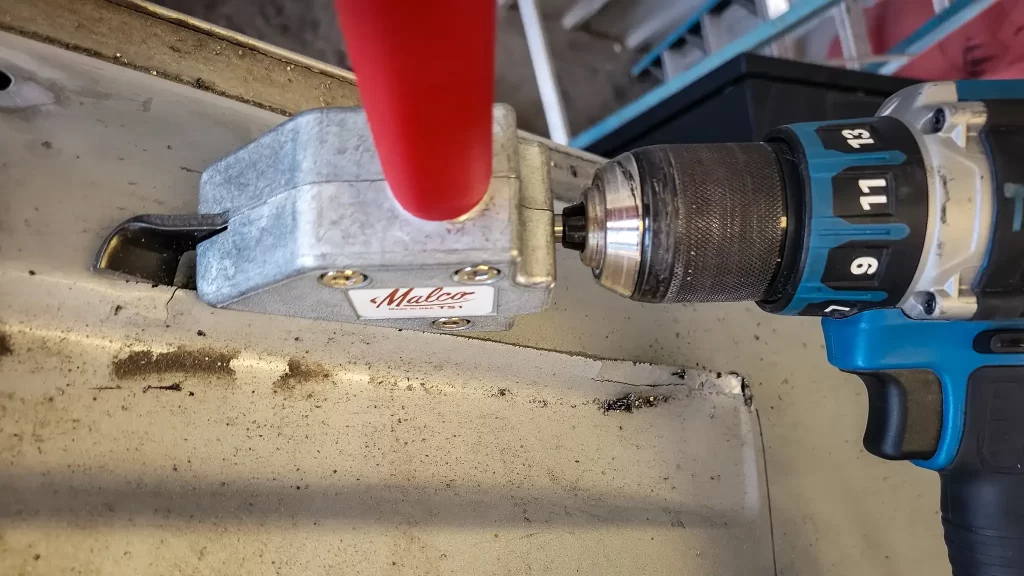
After drilling pilot holes from within the interior, Tom used a Malco Sheet Metal Cutting Drill Attachment to remove the portion of the metal roof that wouldn’t be needed. We left a few inches around each side, as the previous van had done. This is where we would attach the topper.
Step 4: Prepping the Van Roof
After removing the metal roof from our van, we scuffed the edges with sandpaper, and then cleaned the surface with alcohol. We applied silver Rustoleum paint with a brush to the exposed edge, to prevent any future rust.
We test fitted the topper one more time, and used painter’s tape to tape off 1/8″ from where the high top would sit, so we could apply. an even bead of sealant on the outside. We also taped the edge of the high top.
Now onto actually installing the van high top!
Step 5: Installing the Van High Top

We used our cheap winch rig for the last time to set the high top on the lip of our now roofless van. Tom pre-drilled holes for screws using a metal-rated drill bit. We applied a lot of 3M permanent sealant, as the previous installers had. Tom then inserted the dozen or so screws, and we filled any gaps with even more sealant. We used almost 9 full 10-ounce tubes!
Step 6: Sealing the Topper
Once the topper was fully secured with screws and sealant on the interior, we ran a bead of sealant along the outside as well. Then we stepped back and admired our almost-complete project!

Step 7: Wrapping Our High Top
The final step was to have our van high top wrapped to match the van body. We hired a local company to complete this step, which cost $750. We’re thrilled with how it turned out!

If you have any questions or would like additional details, please let us know in the comments section of the companion YouTube video!